(Last Updated on August 28, 2026 by Henry)

Your Beginner Crush Grip Training Checklist

Crush grip is one of the most recognizable forms of grip strength. It is the ability to squeeze an object firmly between your fingers and palm, using the closing action of your hand to generate force.
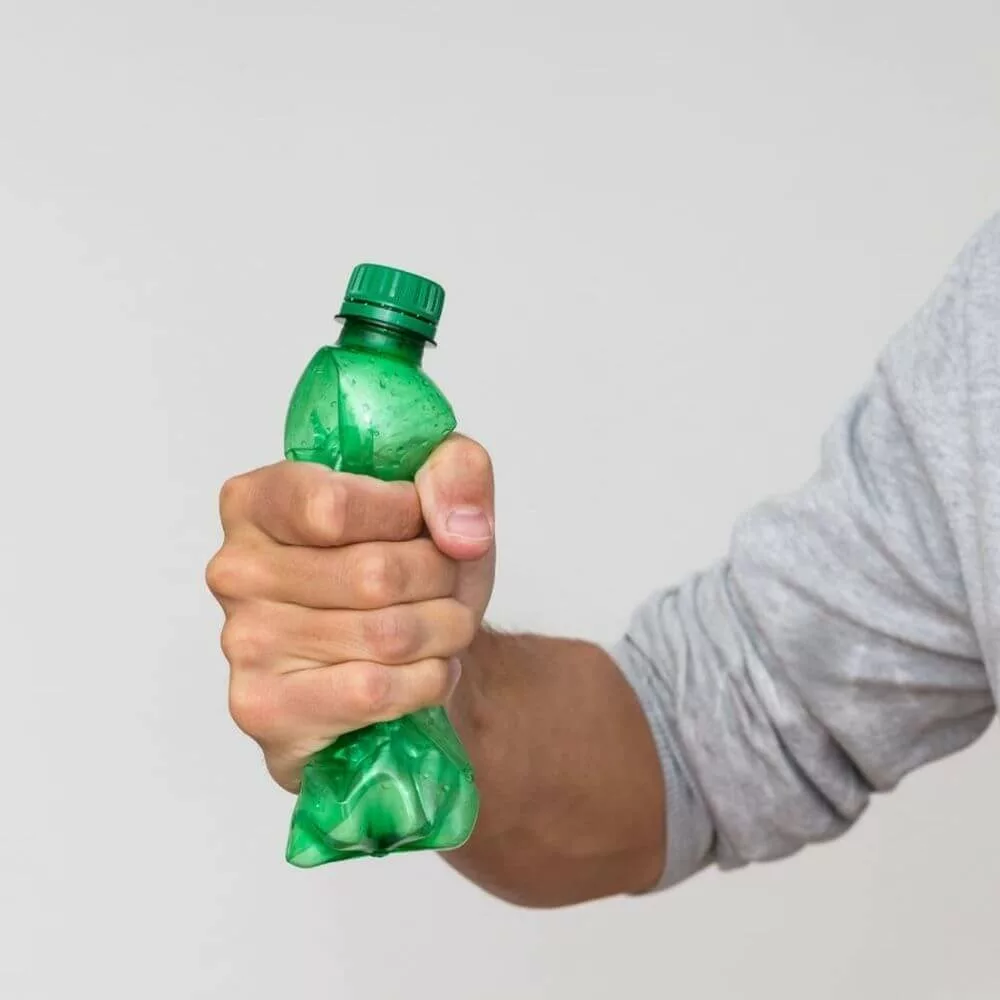
You use crush grip more often than you might realize.

Opening a stubborn jar, squeezing a tool handle, holding onto sporting equipment, or gripping a barbell all involve some degree of crushing force.

For athletes, a stronger crush grip can also provide better control over equipment.

It also helps make other pulling and gripping movements feel more secure.

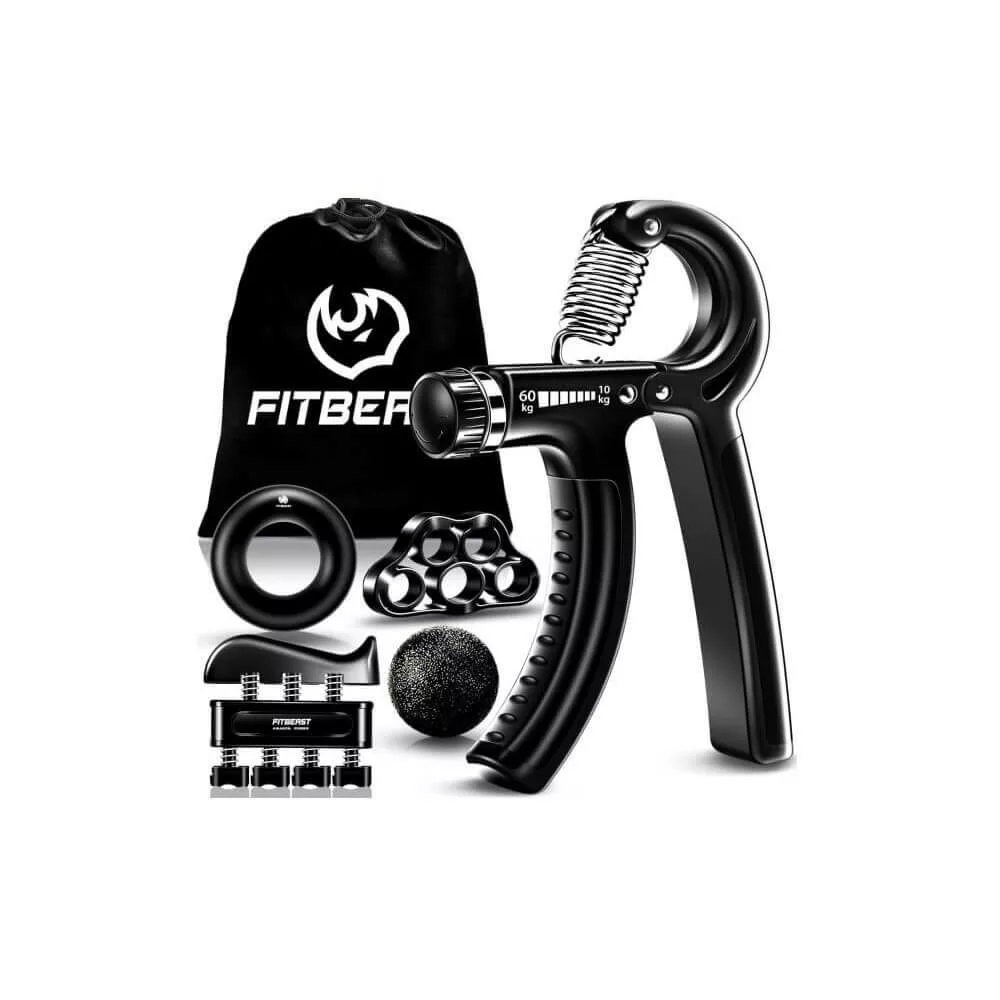
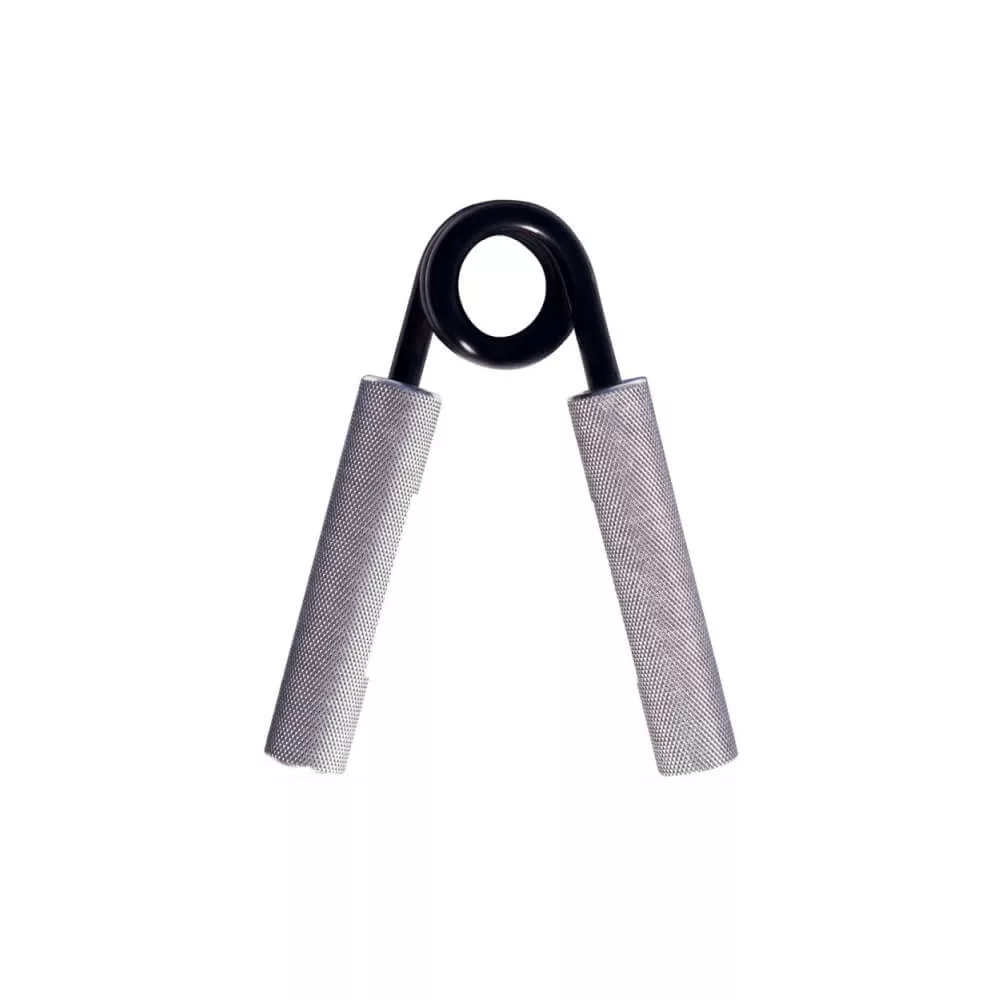
The good news for beginners is that the crush grip is relatively easy to understand and train. You don’t need a complicated routine. A hand gripper can provide a simple resistance exercise, while other movements can reinforce the forearm and hand strength that supports your squeezing ability.

However, there’s an important distinction between simply squeezing something hard and training crush grip effectively. Good training involves choosing an appropriate resistance, using controlled repetitions, progressing gradually, and giving your hands enough recovery time.

A beginner-friendly approach should focus on:

  • Learning the closing motion – Start by understanding how your fingers and thumb work together to close your hand around resistance. Developing control is more important than immediately chasing maximum resistance.
  • Choosing manageable resistance – A gripper that is too difficult can turn every repetition into a struggle and make it difficult to practice proper technique. Start with a resistance you can control through the intended range of motion.
  • Training consistently – Crush grip improves through repeated exposure to an appropriate training stimulus. A few well-executed sessions are more useful than occasional all-out attempts.
  • Progressing gradually – Increase repetitions, improve control, add hold time, or eventually move to a stronger resistance as your ability develops.
  • Balancing training with recovery – Your hands are involved in countless activities outside your grip workout. Allowing them to recover helps you continue progressing without accumulating unnecessary fatigue.

You don’t need to make every session a test of how strong your hands are. In the beginning, the goal is to build a reliable foundation that you can continue developing for months.

If done correctly, training with hand gripper devices is actually the best way
to put on massive amounts of grip strength in the shortest amount of time possible.

How Crush Grip Works and What You're Training

How Crush Grip Works and What You’re Training

When you squeeze a gripper or another object, several structures contribute to the movement. The muscles that flex your fingers are largely located in the forearm, while tendons connect those muscles to the fingers and allow their force to produce movement.

This is why crush grip training can create a noticeable sensation throughout your hand and forearm rather than in one isolated spot.

Your thumb also matters. A strong crush isn’t simply about closing the four fingers toward the palm. The thumb helps stabilize the object and contributes to the overall security of the grip.

For beginners, the simplest way to think about the crush grip is:

Fingers close → thumb stabilizes → forearm muscles produce force → hand maintains control.

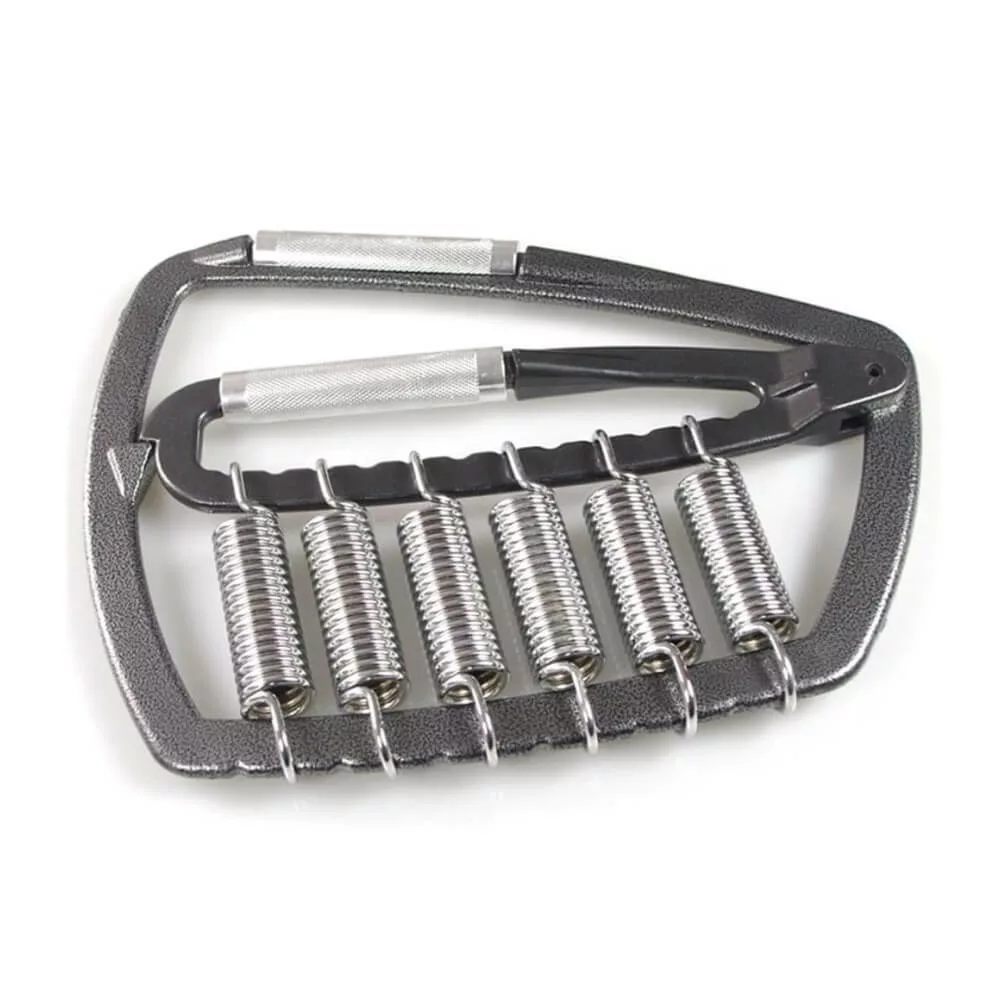
Hand grippers are particularly useful because they make this movement easy to repeat and measure.

A basic gripper session might look like:

  • Warm-up squeezes – Use a light resistance and perform several easy repetitions to prepare the hands and forearms without creating significant fatigue.
  • Working sets – Perform controlled repetitions with a resistance that challenges you while allowing you to maintain good technique throughout the set.
  • Isometric holds – Once you’ve closed the gripper, holding the position briefly can add another challenge and teach you to maintain force rather than immediately releasing it.
  • Controlled negatives – If you have enough experience and the resistance is appropriate, slowly resisting the gripper as it opens can provide an additional challenge. Beginners should keep this controlled rather than forcing extremely heavy resistance.
  • Recovery between sets – Give your grip enough rest that the following set still resembles quality training rather than increasingly fatigued squeezing.

The objective isn’t simply to make your forearms burn. You’re teaching the hand to produce and maintain force efficiently.

This is also where gripper selection becomes important. If you cannot close the gripper through its normal range of motion, it’s probably too difficult to serve as your primary training resistance.

The Best Crush Grip Exercises for Beginners

The Best Crush Grip Exercises for Beginners

A hand gripper is an excellent starting point, but it doesn’t have to be the only tool in your crush-grip toolbox.

Different exercises can challenge the same general ability from slightly different angles, helping you develop more complete hand and forearm strength.

Hand Gripper Repetitions

This is the most direct crush-grip exercise. Place the gripper comfortably in your palm, wrap your fingers around the handles, and squeeze them together under control.

Avoid rushing the movement. A smooth close followed by a controlled release gives you a better opportunity to maintain consistent technique.

Timed Gripper Holds

Once you can close your gripper reliably, holding the closed position for several seconds can introduce an endurance component.

This doesn’t replace regular repetitions, but it can teach your hand to maintain force after the initial squeeze.

Towel or Object Squeezes

A towel or soft object can provide a simple alternative when you don’t have a gripper available. Squeeze firmly, hold briefly, and release under control.

The resistance is less measurable than with a gripper, but this can still be useful as an introductory movement or lighter training option.

Thick-Handle Holds

Thicker handles change the way your fingers wrap around an object and can make familiar movements feel considerably different.

For beginners, thick-grip work should remain supplementary rather than becoming the entire routine. Start with manageable resistance and focus on maintaining a secure grip.

Carry Variations

Farmer’s carries primarily develop support grip, but they can complement crush-grip work by teaching your hands and forearms to maintain force while holding a load.

This distinction matters: carries shouldn’t be considered a direct replacement for gripper work. Instead, they’re another piece of the overall grip-strength system.

How to Progress Your Crush Grip

How to Progress Your Crush Grip

Once you’ve learned the basic movements, progression becomes the key to continued improvement.

Your body adapts to repeated training stress. If you perform exactly the same number of repetitions with exactly the same resistance forever, eventually the exercise may no longer provide enough challenge to encourage further adaptation.

Fortunately, you have several ways to progress:

  • Add repetitions first – Increasing repetitions is often the simplest progression for beginners. If your current resistance feels comfortable, gradually adding a few quality repetitions can increase the training demand without requiring a stronger gripper immediately.
  • Improve your range of motion – A controlled close through the full available range is more valuable than a partial squeeze performed with excessive resistance. Work toward consistent, complete repetitions before chasing heavier resistance.
  • Add controlled holds – Holding the gripper closed for a few seconds can increase the time your hand spends producing force. Keep the duration manageable and avoid turning every set into an endurance test.
  • Move to higher resistance – Once you can handle your current gripper comfortably and consistently, progressing to a stronger resistance can provide a new stimulus.
  • Train both hands – Don’t allow your stronger hand to do all the work. Training both sides helps develop more balanced grip ability and gives you a clearer picture of your actual progress.
  • Track your sessions – Recording your gripper resistance, repetitions, sets, and hold times makes progression much easier to manage. Small improvements become much easier to recognize when they’re written down.

Progress doesn’t have to happen every single workout.

Some days your grip will feel stronger than others. Your previous workouts, sleep, sports, work, and even everyday hand use can influence how much force you can produce.

Think in terms of gradual improvement over weeks and months rather than trying to beat your previous best every time you pick up a gripper.

Common Crush Grip Training Mistakes

Common Crush Grip Training Mistakes

Because grippers are so simple to use, it’s tempting to assume that there isn’t much technique involved. Beginners can actually make several mistakes that reduce the effectiveness of their training or create unnecessary fatigue.

One of the biggest is choosing resistance based on ego rather than ability. A gripper that you can barely move may look impressive, but it doesn’t automatically make it the best training tool.

Another common problem is performing repetitions too quickly. Rapidly bouncing the handles together can make it harder to control the movement and consistently load the intended structures.

Watch out for these habits:

  • Using a gripper that’s far too heavy – If you can’t close it properly, you’re turning a training exercise into a maximum-effort test. Choose resistance that allows meaningful, controlled work.
  • Chasing partial repetitions – Moving the handles only slightly can become a habit when resistance is too high. Build your foundation with consistent range of motion before increasing difficulty.
  • Ignoring the thumb – The thumb contributes to grip security and hand function. Don’t think of crush grip as nothing more than four fingers squeezing independently.
  • Training to failure constantly – Maximum efforts can have a place in grip training, but making every set an all-out attempt creates unnecessary fatigue and can interfere with recovery.
  • Forgetting the other hand – A large strength difference between your hands can become more noticeable if you only train your dominant side. Give both hands appropriate attention.
  • Ignoring recovery signals – Persistent pain, worsening discomfort, or declining performance is not something you need to push through. Reduce the training stress and reassess your approach if something doesn’t feel right.

The strongest crush grip isn’t built by one heroic workout.
It’s built through hundreds of sensible training decisions made over time.

Crush grip is one of the easiest forms of grip training to understand, but getting stronger still requires patience. Start with manageable resistance, learn to perform clean repetitions, and gradually increase the challenge as your hands and forearms adapt.

A good beginner doesn’t need to close the heaviest gripper in the gym. They need a resistance they can train consistently, a progression they can measure, and enough recovery to keep moving forward.

Build the grip you can use tomorrow,
not just the squeeze you can produce today.
Key Takeaway

Crush grip is your ability to squeeze and control an object using your fingers, thumb, and supporting forearm muscles.

For beginners, hand grippers provide one of the simplest ways to train it, but the best results come from combining good technique, gradual progression, balanced training, and adequate recovery.

Start where you are, build patiently, and let your grip strength accumulate over time.

Thanks for Reading!

What Device Are You Currently Using to Train Your Crush Grip?
Share Your Thoughts in the Comments!

Need to Improve Your Grip? I'm Here to Help. As a fitness enthusiast, I explore grip strength, hand training, performance, injury prevention, & recovery to help you train smarter. Whether you're chasing a competitive edge, getting back from an injury, or simply looking for better ways to use & strengthen your hands, you'll find practical ideas & useful tools right here.

Leave a Reply

Your email address will not be published. Required fields are marked *