(Last Updated on September 15, 2026 by Henry)

Measure What Matters, Recognize Real Improvements & Make Smarter Training Decisions

Ever try to remember exactly how strong or steady your grip was from one week to the next? That’s why keeping track of grip progress really matters.
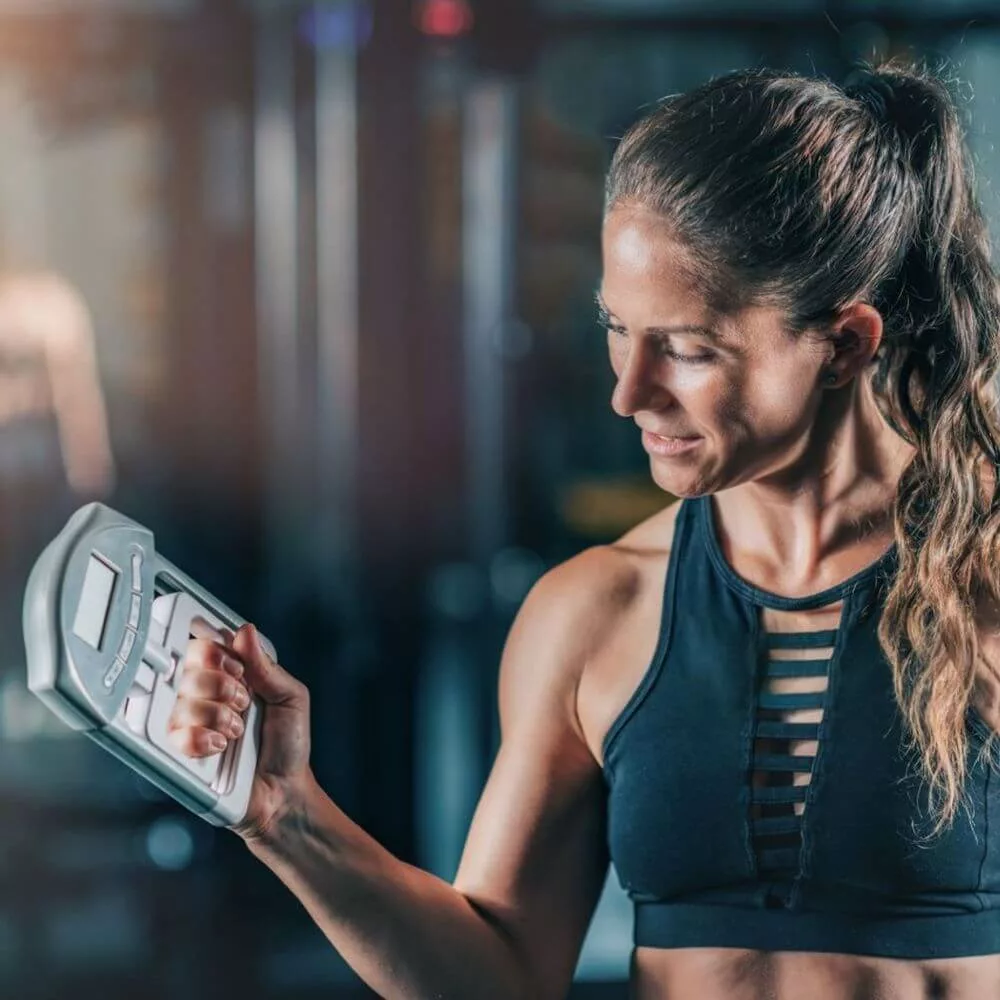
When you commit to tracking, you’re swapping guesswork for solid evidence of how you’re doing over time.

Your training log isn’t just a judgment of what you can do today, but a map of where you can go.

Embrace it as a supportive tool to help shape smarter and safer training decisions.

Our memory tends to latch onto standout days, whether it was struggling through every rep or crushing those expectations with ease.

It’s easy to notice the big jumps in weight or reps, but what about those subtle improvements? Cleaner repetitions, longer hold times, or just feeling like the work’s gotten easier. These often fly under the radar without a record.

Grip strength isn’t just a static number. It’s affected by everything from how well you slept and what you ate to how the day has been treating you overall. Noticing these day-to-day variations helps put those seemingly “bad” days into perspective. Just because today feels off doesn’t mean you’re backtracking.

By keeping steady records, you start to recognize patterns across your training, whether that’s plateauing despite effort, fatigue creeping in, or a tweak in your routine that’s suddenly making everything click. It’s all about learning when to push harder and when to ease off.

Remember, tracking should feel like a way to understand your journey, not a constant pressure to improve.

Track what explains your progress

  • Performance: Notice the big jumps in weight or reps, as well as cleaner repetitions and longer hold times.
  • Context: Noticing day-to-day variations helps put those seemingly “bad” days into perspective.
  • Patterns: Keeping steady records helps you recognize plateauing, fatigue, and changes that are making everything click.
  • Decisions: Learn when to push harder and when to ease off.

Here’s a practical way you can measure your grip strength at home with a simple scale.

What to Measure: Build a Grip Scorecard That Matches Your Actual Goal

What to Measure: Build a Grip Scorecard That Matches Your Actual Goal

Trying to measure your grip progress without direction can feel like throwing darts blindfolded. What you decide to track should align with what you’re aiming to accomplish.

Are you building crushing strength, improving your pinch grip, or looking for all-round endurance? Clarifying this at the start helps in choosing the right metrics to focus on.

Track the Main Performance Markers

A dynamometer reading gives you one snapshot of grip strength. It’s a helpful part of the picture, but remember it’s not every piece. Different grips and their efficiencies won’t all show up on that dial. When possible, do measure it regularly, staying mindful that it’s one measure among many.

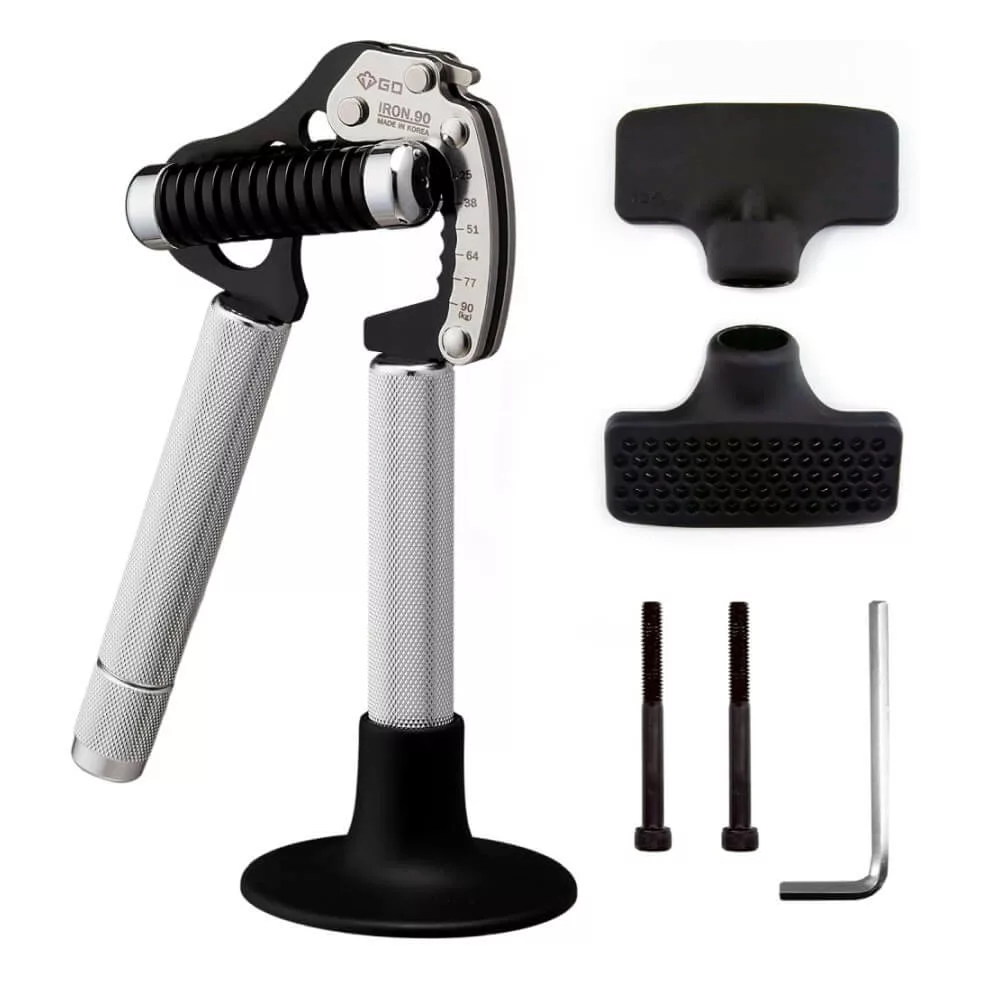
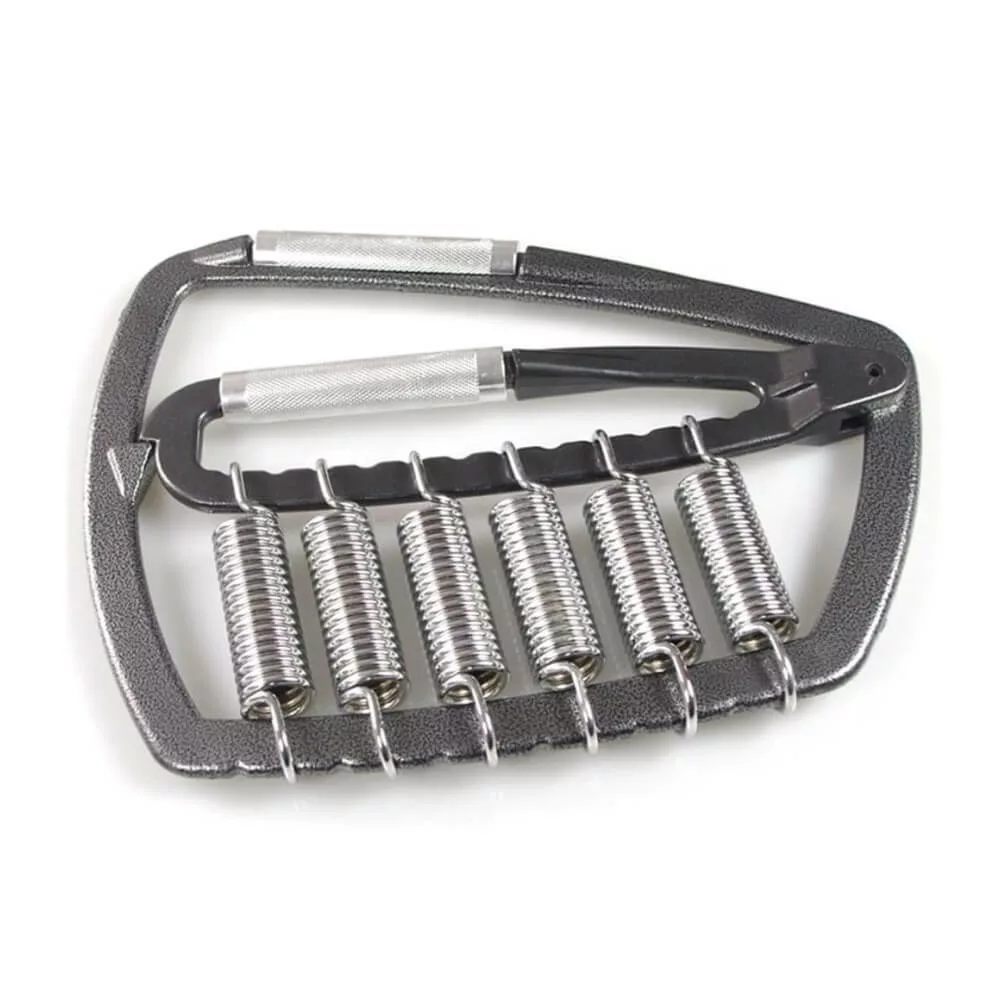
Got grippers? Note the model, resistance if it’s marked, or your personal level of difficulty. Keep in mind, brands vary, and what’s tough on one might feel easier on another.

  • Repetitions, sets, and holds: Sum up your repetitions, sets, and the length you can hold, especially if you’re building endurance.
  • Carries: For carries, jot down the weight and distance covered.
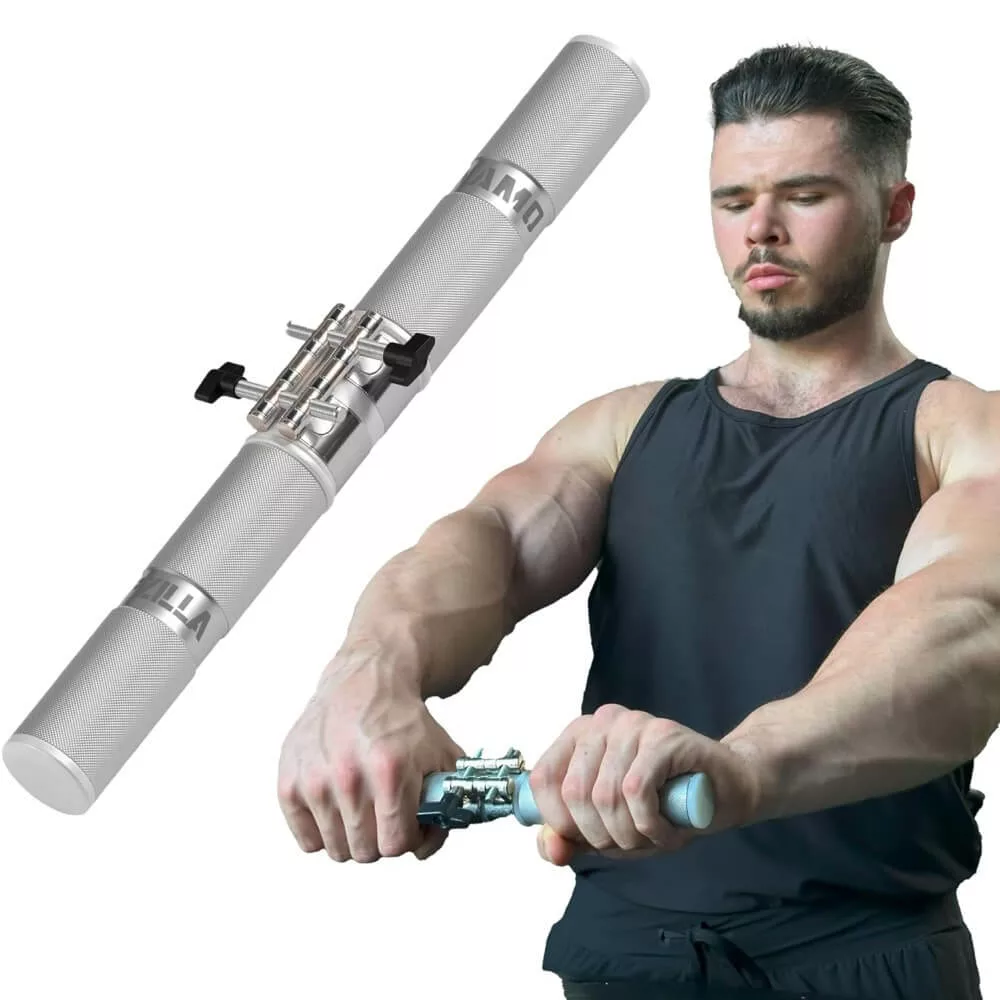
  • Supporting movements: Pinch loads, wrist exercise resistance, range of motion, and how in control you feel also play a role.
  • Regular measurements: Measure regularly, staying mindful that a dynamometer is one measure among many.

Don’t skip over supporting muscles and related movements. All these details help paint a fuller picture.

Include Effort, Recovery & Comfort

Track rest periods and perceived effort to distinguish real strength gains from just pushing harder. Effort levels, or something like RPE (Rate of Perceived Exertion), are useful for interpreting these changes.

Add notes on any pain or discomfort. If something doesn’t feel right, noting this down might help spot patterns over time, and it’s your cue to ease back and possibly consult a professional.

Logging these subtle cues helps guide smart training choices, leading to safer improvement over time.

How to Test Grip Strength Consistently

How to Test Grip Strength Consistently

It’s crucial to test your grip strength in a way that’s consistent and repeatable. When you switch things up too much, the changes in technique or equipment can muddy the water, making it hard to tell what’s really improved.

Keep the Equipment and Method Consistent

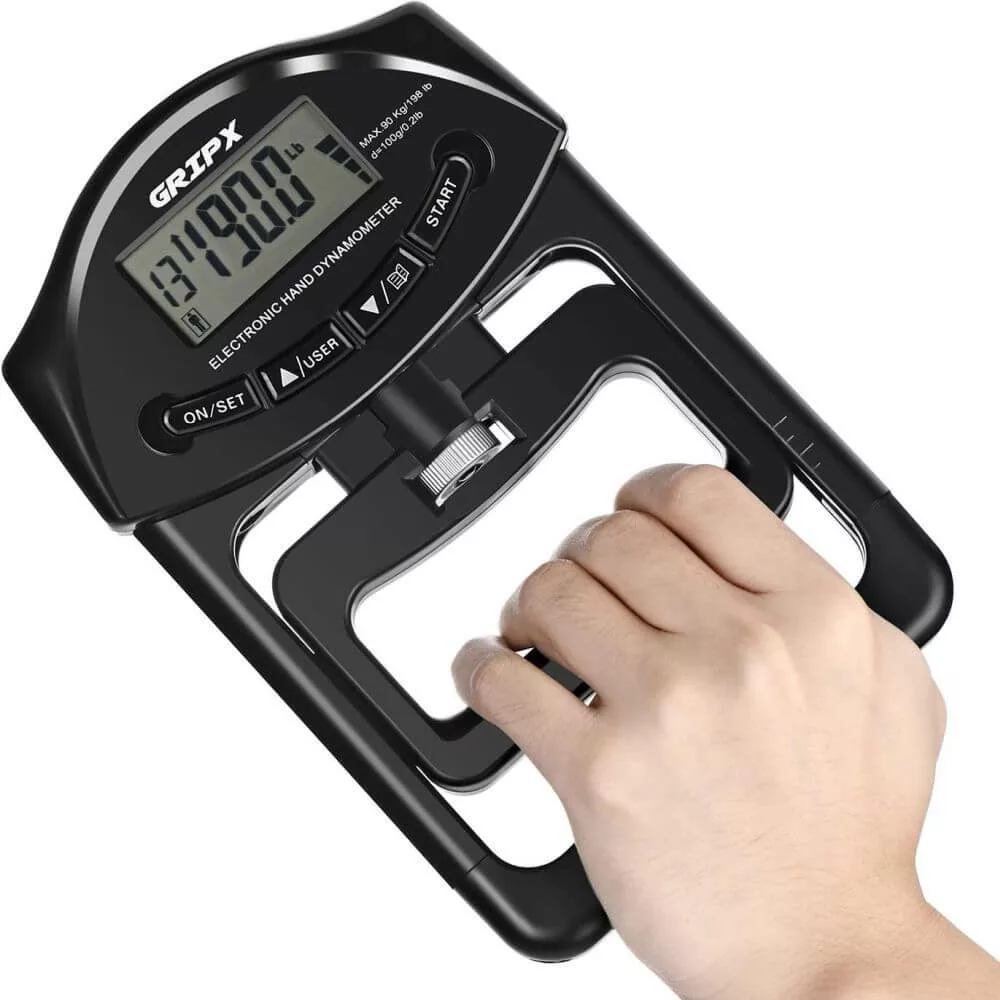
Stick to the same equipment whenever possible. A dynamometer or a specific gripper model should be your go-to so that you’re comparing apples to apples each time.

Set yourself up with a standard routine before testing. Make it part of your usual warm-up by including some light hand, wrist, and forearm movements to get the blood flowing. This helps ensure that you’re testing your true strength, not just tired or stiff hands.

Timing is everything. Try to test under similar conditions each time. If mornings work for your schedule, aim for mornings each week. Similarly, keep your testing day away from heavy pulling workouts or days when your hands are already worn out.
Record the Testing Process

Use a repeatable process for attempts and rest intervals. Whether you aim for a max effort or an average from a few tries, recording your method will help make sure you and anyone else who might view your log understands what’s been done.

It’s tempting to compare numbers from different devices or varied hand positions, but be cautious. Results can shift a lot when changing these factors. Stick with one method for more reliable insights.

Reliable performance markers

  • Same equipment: Stick to the same equipment whenever possible.
  • Standard routine: Include light hand, wrist, and forearm movements to get the blood flowing.
  • Similar conditions: Try to test under similar conditions each time.
  • Repeatable attempts: Use a repeatable process for attempts and rest intervals.

Assessing grip isn’t just about hitting new highs. It’s also about seeing reliable performance markers in terms of pain-free function and consistent ability, which often form the foundation for continued progress.
Build a Simple Grip Training Log: Capture the Details That Explain Each Session

Build a Simple Grip Training Log: Capture the Details That Explain Each Session

Keeping a grip training log doesn’t have to be complicated. In fact, the simpler, the better because it encourages consistency and clarity.

Start with the essentials: date and session type. Are you doing strength work, focusing on endurance, or recovering from a recent effort? This context helps when reviewing later.

Capture the details that explain each session

Log the exercise specifics: what you did, the resistance or equipment, how many sets and repetitions, plus the duration of holds. All these speak volumes about what your hands and forearms are adapting to.

Add in the rest periods and a simple way to measure exertion, like RPE (Rate of Perceived Exertion), giving you a clearer picture of how your effort lines up with performance.

Session details

  • Date and session type: Start with the essentials: date and session type.
  • Exercise specifics: Log the exercise specifics: what you did, the resistance or equipment, how many sets and repetitions, plus the duration of holds.
  • Rest and exertion: Add in the rest periods and a simple way to measure exertion, like RPE.
  • Less obvious factors: Capture sleep quality, overall fatigue, or even recent activities that might affect your grip.

Example of a Simple Grip Training Entry

Here’s an example of a straightforward entry:

> June 10: pinch training: plate pinch, 10 kg for 3 × 20 seconds, RPE 6, felt strong; tired from late night.

It conveys a lot in a few words and helps guide decisions.

Keep it simple and review it regularly

A notebook, a note app on your phone, or a simple spreadsheet suffices. It’s not about fancy technology but about support in recognizing progress over time.

Review your notes briefly after each session, and every few weeks, take a deeper dive to spot trends. The power of consistency lies more in what you see over time, not just in each individual session.

Capture the less obvious factors like sleep quality, overall fatigue, or even recent activities that might affect your grip. It helps separate a true performance drop from a simple bad day.

Don’t shy away from noting any discomfort or pain. Highlighting when and where things felt off can be a warning that your body needs a little extra care.

Use the Trend to Train Smarter: Turn Your Records Into Better Grip Decisions

Use the Trend to Train Smarter: Turn Your Records Into Better Grip Decisions

Having a grip log isn’t just about writing numbers down: it’s about piecing together what those numbers mean for your path forward. When you analyze your logs, you can make more informed decisions about your grip training.

Know When to Progress

Look at when to up your resistance. If you’re comfortably hitting targets with ease across multiple sessions, it might be time to add a bit more weight or shoot for more reps.

But if your grip is just getting comfortable with the current load, it could be worth staying there a while longer for consistency.

Recognize when it’s smart to repeat a workload. Say you hit all the reps, but at the cost of shaky form or way too much effort. Sometimes, consolidating gains by holding steady sets you up for a bigger leap forward later.

Know When to Reduce the Workload

Be open to reducing volume or intensity, especially when signs like creeping fatigue, off-the-charts perceived effort, or soreness are becoming the norm, not the exception.

Even taking a step back can pave the way for future progress by letting recovery do its job.

Spotting a plateau calls for looking at several weeks of data, not just one rough session. This can signal the need to tweak your approach, maybe by adding new types of grips or altering workout frequency.

Look Beyond Personal Records

  • More controlled repetitions: Your technique stays cleaner under the same workload.
  • Longer hold times: You can maintain a position for longer without losing control.
  • Easier familiar workloads: The same resistance feels less demanding than before.
  • Smoother movement: Your wrist, fingers, and forearm work together more efficiently.
  • Better recovery: You return to normal performance more quickly between sessions.

Make a habit of comparing different training phases. Look beyond just personal bests: examine how recovery time compares, how consistent performance has been, and whether old nagging pains have lessened over time.

Recognize progress even if it doesn’t break records.

These gains often speak louder about your true standing than a single, sudden personal record.

Avoid reacting emotionally to a bad day in the gym. One-off session isn’t a verdict. It’s the trend over weeks or months that matters.

Use your log to pinpoint one change at a time, which helps in tracking what really enhances your performance.

Build a Grip Training Record That Works for You

Tracking grip progress effectively is less about collecting endless numbers and more about creating a clear picture of how your training is developing.

Choose measurements that match your goal, test under repeatable conditions, and record enough context to explain why a session went well, or why it didn’t.

Your log should help you recognize when to increase resistance, when to repeat a workload, and when recovery needs more attention. It should also remind you that progress is not always a new personal best.

Sometimes it is better technique, a longer hold, less discomfort, or the ability to complete familiar work with greater control.

The most useful training record is one you can maintain consistently. Keep it simple, review it regularly, and let the trends guide your decisions.

Recommended Next Reads

  • How to Measure Your Grip Strength Accurately
  • Grip Strength vs. Grip Endurance: What’s the Difference?
  • How to Break Through a Grip Strength Plateau
  • How Often Should You Train Your Grip?
  • How to Avoid Overtraining Your Grip

Track the numbers,
but don’t ignore the context.

Key Takeaway

Consistent equipment, repeatable testing, session notes, recovery details, and long-term trends will tell you far more than any single grip-strength result.

Thanks for Reading!

How Do You Currently Track Your Grip Progress?
Share Your Approach in the Comments!

Need to Improve Your Grip? I'm Here to Help. As a fitness enthusiast, I explore grip strength, hand training, performance, injury prevention, & recovery to help you train smarter. Whether you're chasing a competitive edge, getting back from an injury, or simply looking for better ways to use & strengthen your hands, you'll find practical ideas & useful tools right here.

Leave a Reply

Your email address will not be published. Required fields are marked *