(Last Updated on May 30, 2026 by Henry)
Before moving into actual rock climbing techniques for beginners, I’m starting things off with a bit of background on rock climbing holds. Believe it or not, they weren’t always part of the climbing scene.
Their origins are pretty humble: cobbled together from scraps of materials climbers could find. From makeshift chunks of rock to pieces of timber and plastic, these were the building blocks for today’s sophisticated holds.
You might find it interesting that these climbing holds were created to mirror the natural rock features found outdoors. The goal was to keep climbers in top form, allowing them to practice year-round, even when the weather outside was less than favorable.
Picture this: it’s the middle of winter, but thanks to these early hand grips, climbers could still hone their skills indoors as if they were out on the crag.
Manufacturers eventually got creative, experimenting with materials, shapes, and hues, which is why today’s climbing gyms are filled with vibrant and diverse holds.
We’ve come a long way since those early days, and the result is a much more engaging and effective training environment.

Now, let’s talk specifically about the types of holds you’ll come across. From the bread-and-butter jugs to the tricky slopers, each of the nine distinct holds presents its own set of challenges and opportunities. Understanding them is vital, not just for enjoying your climb but also for staying safe.
- Jug: These are most folks’ favorite: Excellent, open, big holds where you can easily get your whole hand around
- Edge: Most commonhold to be found. Ranging from tiny edges that you can barely grip to wide ledges to boost your whole body
- Crimp: Tiny edge that is only big enough to grip with the pads of your fingertips, requiring the correct position from you to stay connected to it
- Pinch: Block-shaped rock that you can pinch with both of your fingers & thumb simultaneously, adding a bunch of gripping power
- Sloper: Tricky large bulges that are difficult to grip, requiring you to be on top of your game to angle your body correctly
- Pocket: Tiny holes in the rock that can be large enough for only one finger to fit in, testing your finger tendon strength.
- Undercling: Just like the name says, it’s like an upside-down edge that you grip from the bottom to pull yourself up
- Flake: Typically a crack between bigger & smaller rocks. The latter you can grab easily to get your hand around it & reinforce the grip
- Horn: Large, horn-shaped holds that are great to work with because they’re typically very easy to grip
Deciphering these holds is more than recognizing shapes; it’s about comprehending their use. For instance, an undercling, with its upside-down magic, or an edge that might seem innocuous but requires precise footwork and grip. And let’s not overlook the horn, which can feel like a saving grace when you find one on the wall.
After all, safety is paramount. Knowing how to properly navigate these holds, which grip to use, and when to use it, can make all the difference. And with that foundation set, you’re in a better position to practice the holding techniques that I’m going to delve into next. Techniques that will not only prepare you for indoor adventures but also set you up for success when you tackle the great outdoors.
Mastering the Basics: Universal Holding Techniques
If you’re just starting out in rock climbing, knowing how to hold on is as vital as figuring out where to place your feet. Think of holding techniques as your foundation; they’ll support everything you do as you climb. I’m going to walk you through a couple of universal holding techniques that are essential for climbers of all levels.
- Squeeze only as hard as you need to save energy
- Focus on pulling direction for the easiest and strongest grip
- Go-to open grip technique to put less strain on your tendons
- Crimp grip with tucked thumb over fingers for extra power
- Body positioning to line up your weight with a low center of gravity & body tension
- Maximize friction by getting your whole hand in contact with the surface of the hold
First off, one of the key things to remember is this: squeeze the holds only as hard as you need to in order to stay on the wall.
Overgripping can tire your forearms out quicker than you’d expect, leaving you with what climbers refer to as ‘pumped’ arms. When your forearms are pumped, they’re filled with blood from all the exertion, making it hard to hold on to anything. A good grip is about finesse, not just force.

Your next focal point should be the direction you pull on a hold. If you want to maintain a strong and effortless grip, pull perpendicular to the hold.
This means aligning your body in such a way that your weight works with gravity, not against it, to keep you on the wall.
Understanding the direction of pull helps to keep you from peeling off the rock and gives you that extra bit of efficiency that might be the difference between reaching the top and taking a spill.
Now, these holding strategies are particularly important when you move on to the crimps: those tiny edges that challenge your finger strength and technique.
You’re going to learn two major ways to tackle them in the next section. Remember, the right technique isn’t just about getting to the top: it’s about getting there safely and with style.
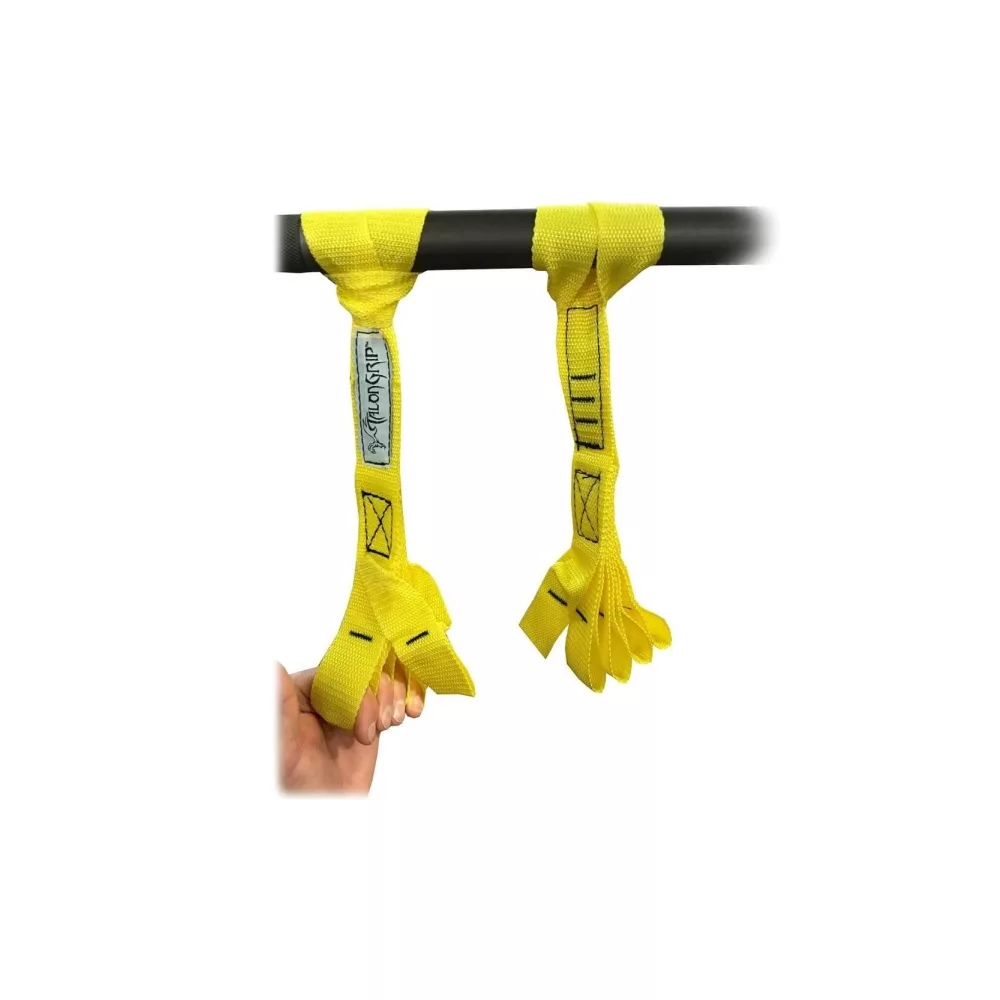
Finger Loops with Thumb Loop To Train Static Grip
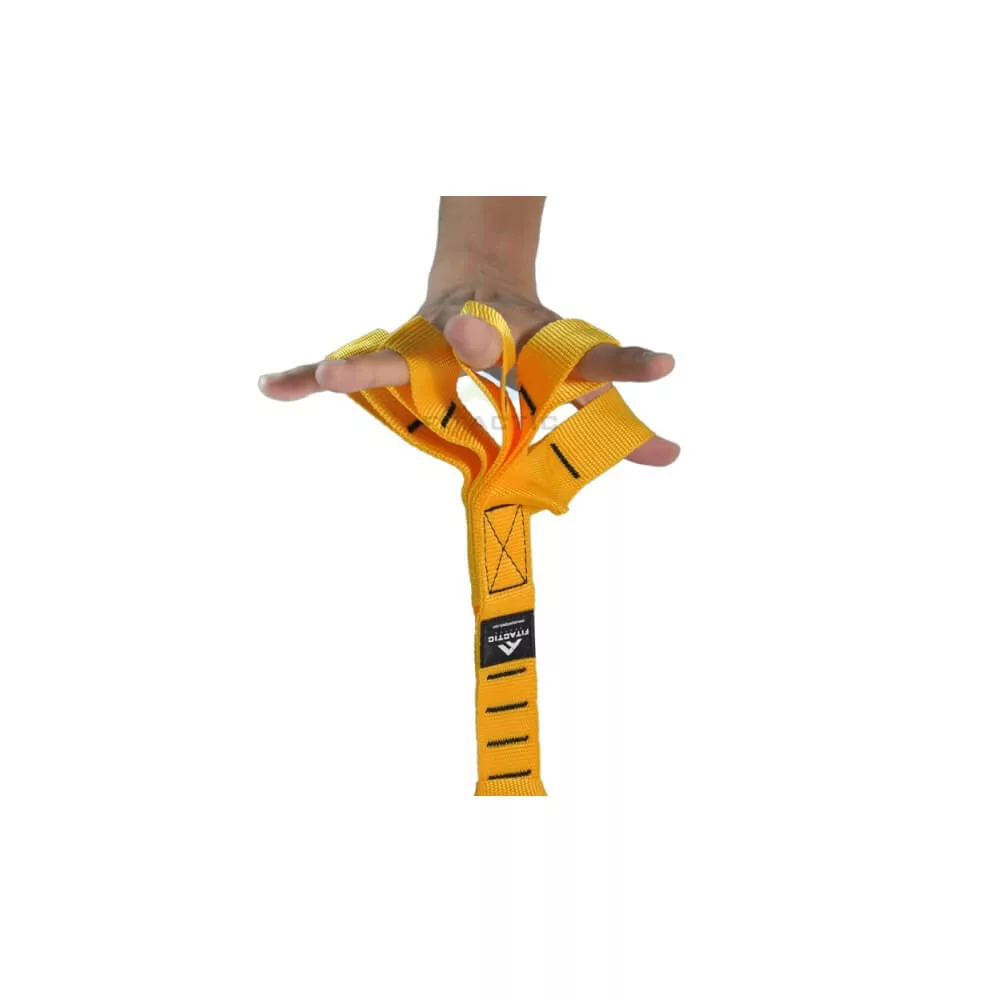
Seize the New Angle to Train Fingers with Finger Loops

Rugged Finger Loops: Simple Solution to Train Static Grip

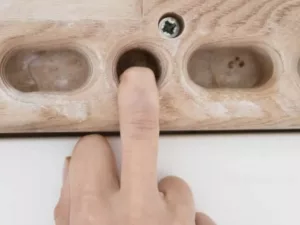
Mini Hangboards: Efficient & Easy to Set Up
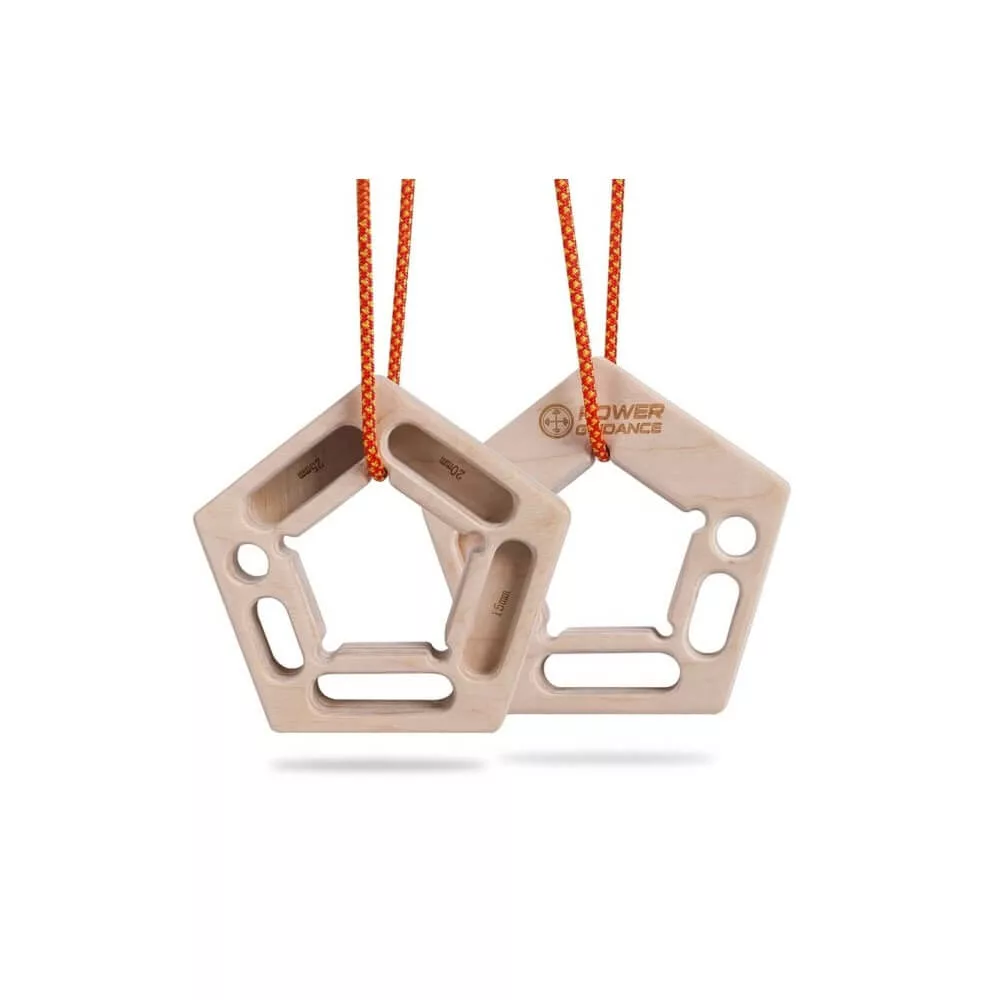
One of the Best Double-Sided Hangboards?
Techniques for Crimps: Maximizing Grip While Minimizing Risk
Now let’s move on to the specifics, focusing on crimp holds. Crimps require a delicate balance; you want to maximize your grip, but you have to minimize risk to your fingers. I’m going to show you how.
First up, we have what’s called a full crimp or closed crimp. Picture this: your hand forms a claw-like shape, knuckles bent sharply, fingertips on the hold, with your thumb wrapped over your fingers for that extra clamping force. This position offers a lot of power, but it’s demanding on your tendons, especially if you’re hanging on for dear life. Because of the intensity, it’s a good idea to save full crimps for those ‘do or die’ moments and not as your everyday grip.
So, what’s the alternative? Enter the open grip. You’re still using the tips of your fingers, but the rest of your fingers are not bent into severe angles: think of it as draping your fingers over the edge. This relaxed position reduces the strain on your tendons and is sustainable for longer periods. It’s also beneficial because it trains you to climb without over-gripping, a common habit that can lead to unnecessary fatigue.
The takeaway here? Use the open grip as your default. It’s kinder to your body and lets you climb longer without burning out. But when you need that extra bit of grip power, and you know you can handle the strain, the full crimp is there for you. Just remember, with great power comes great responsibility to your fingers, that is.
In the next section, we’ll look at slopers. If crimps are like typing on a tiny keyboard, slopers are like trying to hang onto a giant’s bald head: it’s all about friction and body position. But don’t worry, I have tips that will help you navigate slopers effectively, so you can stick to them with confidence.

Navigating Slopers: Achieving Balance and Maximum Friction
Okay, you’ve made it to the last section, and this is where things get really interesting. Slopers can honestly throw even experienced climbers for a loop, but with the right techniques, you’ll be topping out these routes as smoothly as the pros.
When dealing with slopers, it’s all about the body position. Get this wrong, and you’ll slide off faster than you can say ‘belay on.’ Keep your weight pulled in close to the wall and directly oppose the direction you’re pulling from. Trust me, this makes a world of difference.
Staying low and tight to the wall isn’t just for show; it helps you maintain that critical center of gravity. Your moves need to be deliberate and controlled; picture yourself as a panther stalking its prey: smooth, focused, and ready to pounce.
I’m here to help you sweat the small stuff because those tiny dimples and minute features on a sloper can be your saving grace. Find them, use them, and your grip will thank you.
But no fidgeting: once you’ve got that sweet spot, keep your hand as still as stability itself.
So, remember, when you’re scaling those slopers, precision and poise are going to keep you hugging the wall and not hanging off your rope. Now you’re more prepared to go out there and crush those slopers with style.
Thanks for Stopping By
Have Questions?
Please Leave A Comment

